Set up your stripe account
Create a stripe account to enable the monetisation of your api.
Then, create products with recurring prices (your subscription products).
Finally, go to pricing table and create a new one.
Select all your subscription plans you have created before and click on next.
On the payment settings view you will have to change the confirm page for all of your plans
by replacing show confirmation page by your dev-portal url followed by /subloading?session_id={CHECKOUT_SESSION_ID}
For example : https://my-project-domain.cloud-apim.dev/docs/subloading?session_id={CHECKOUT_SESSION_ID}
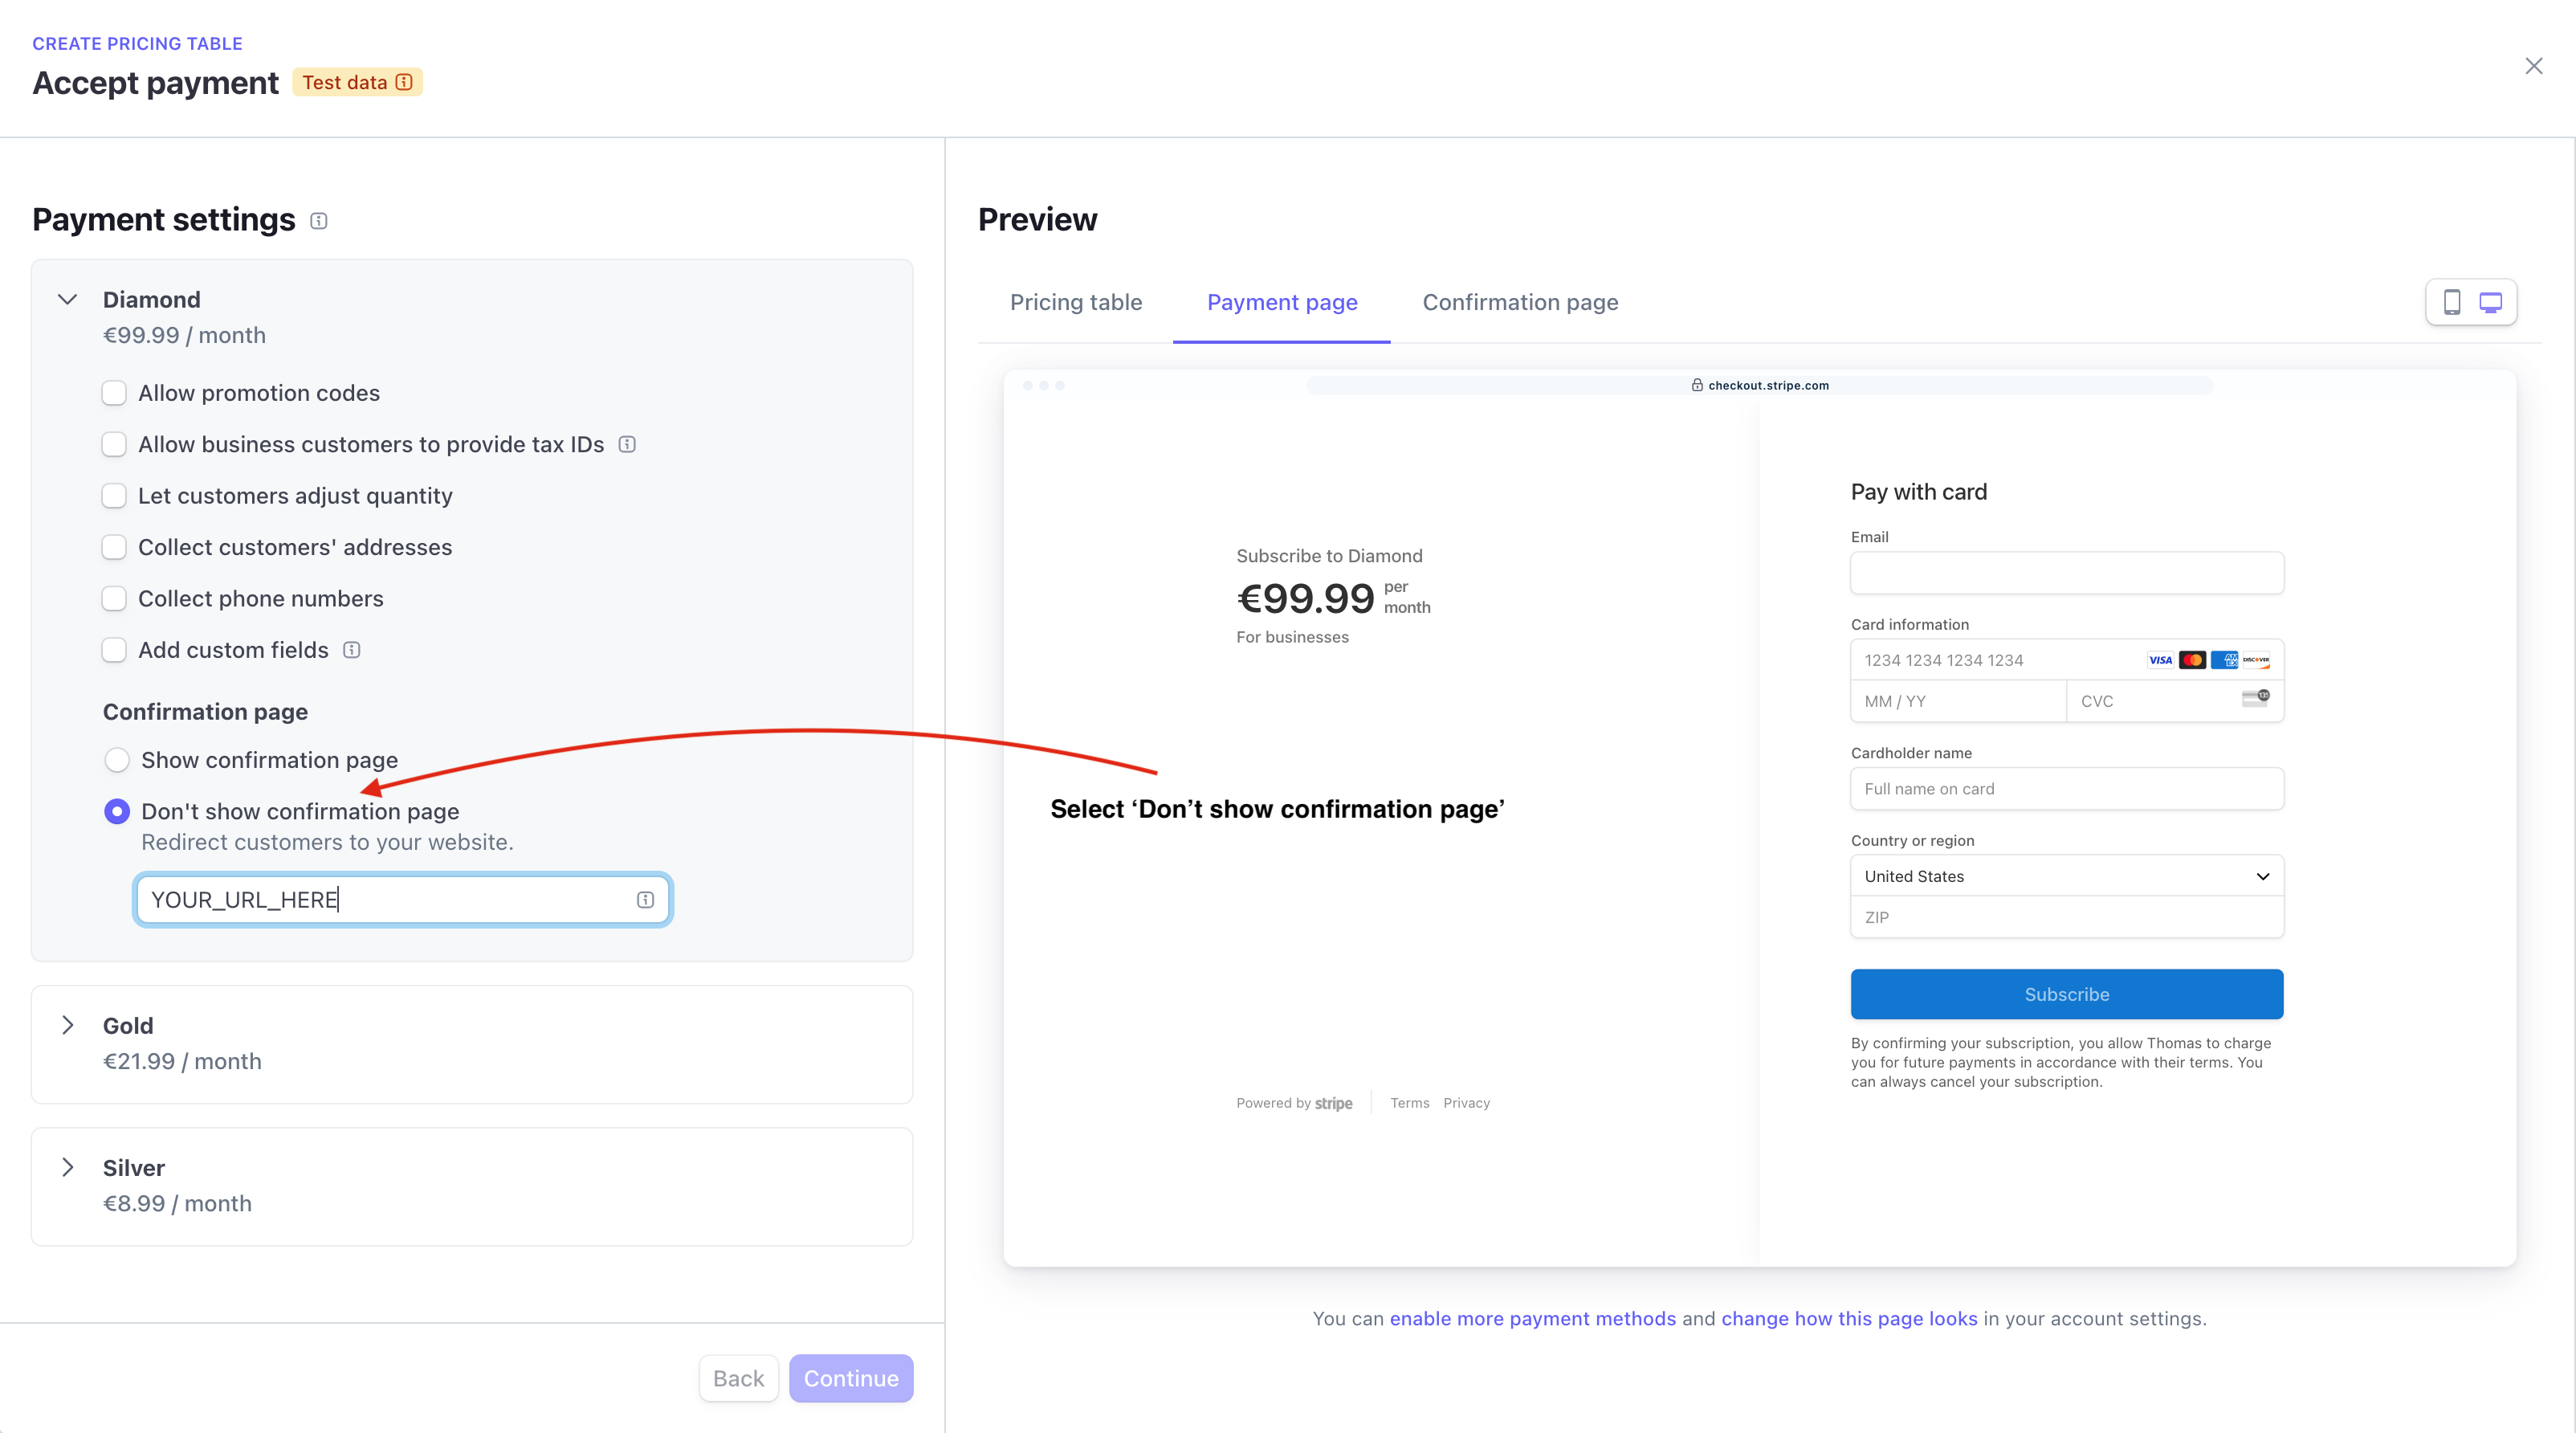
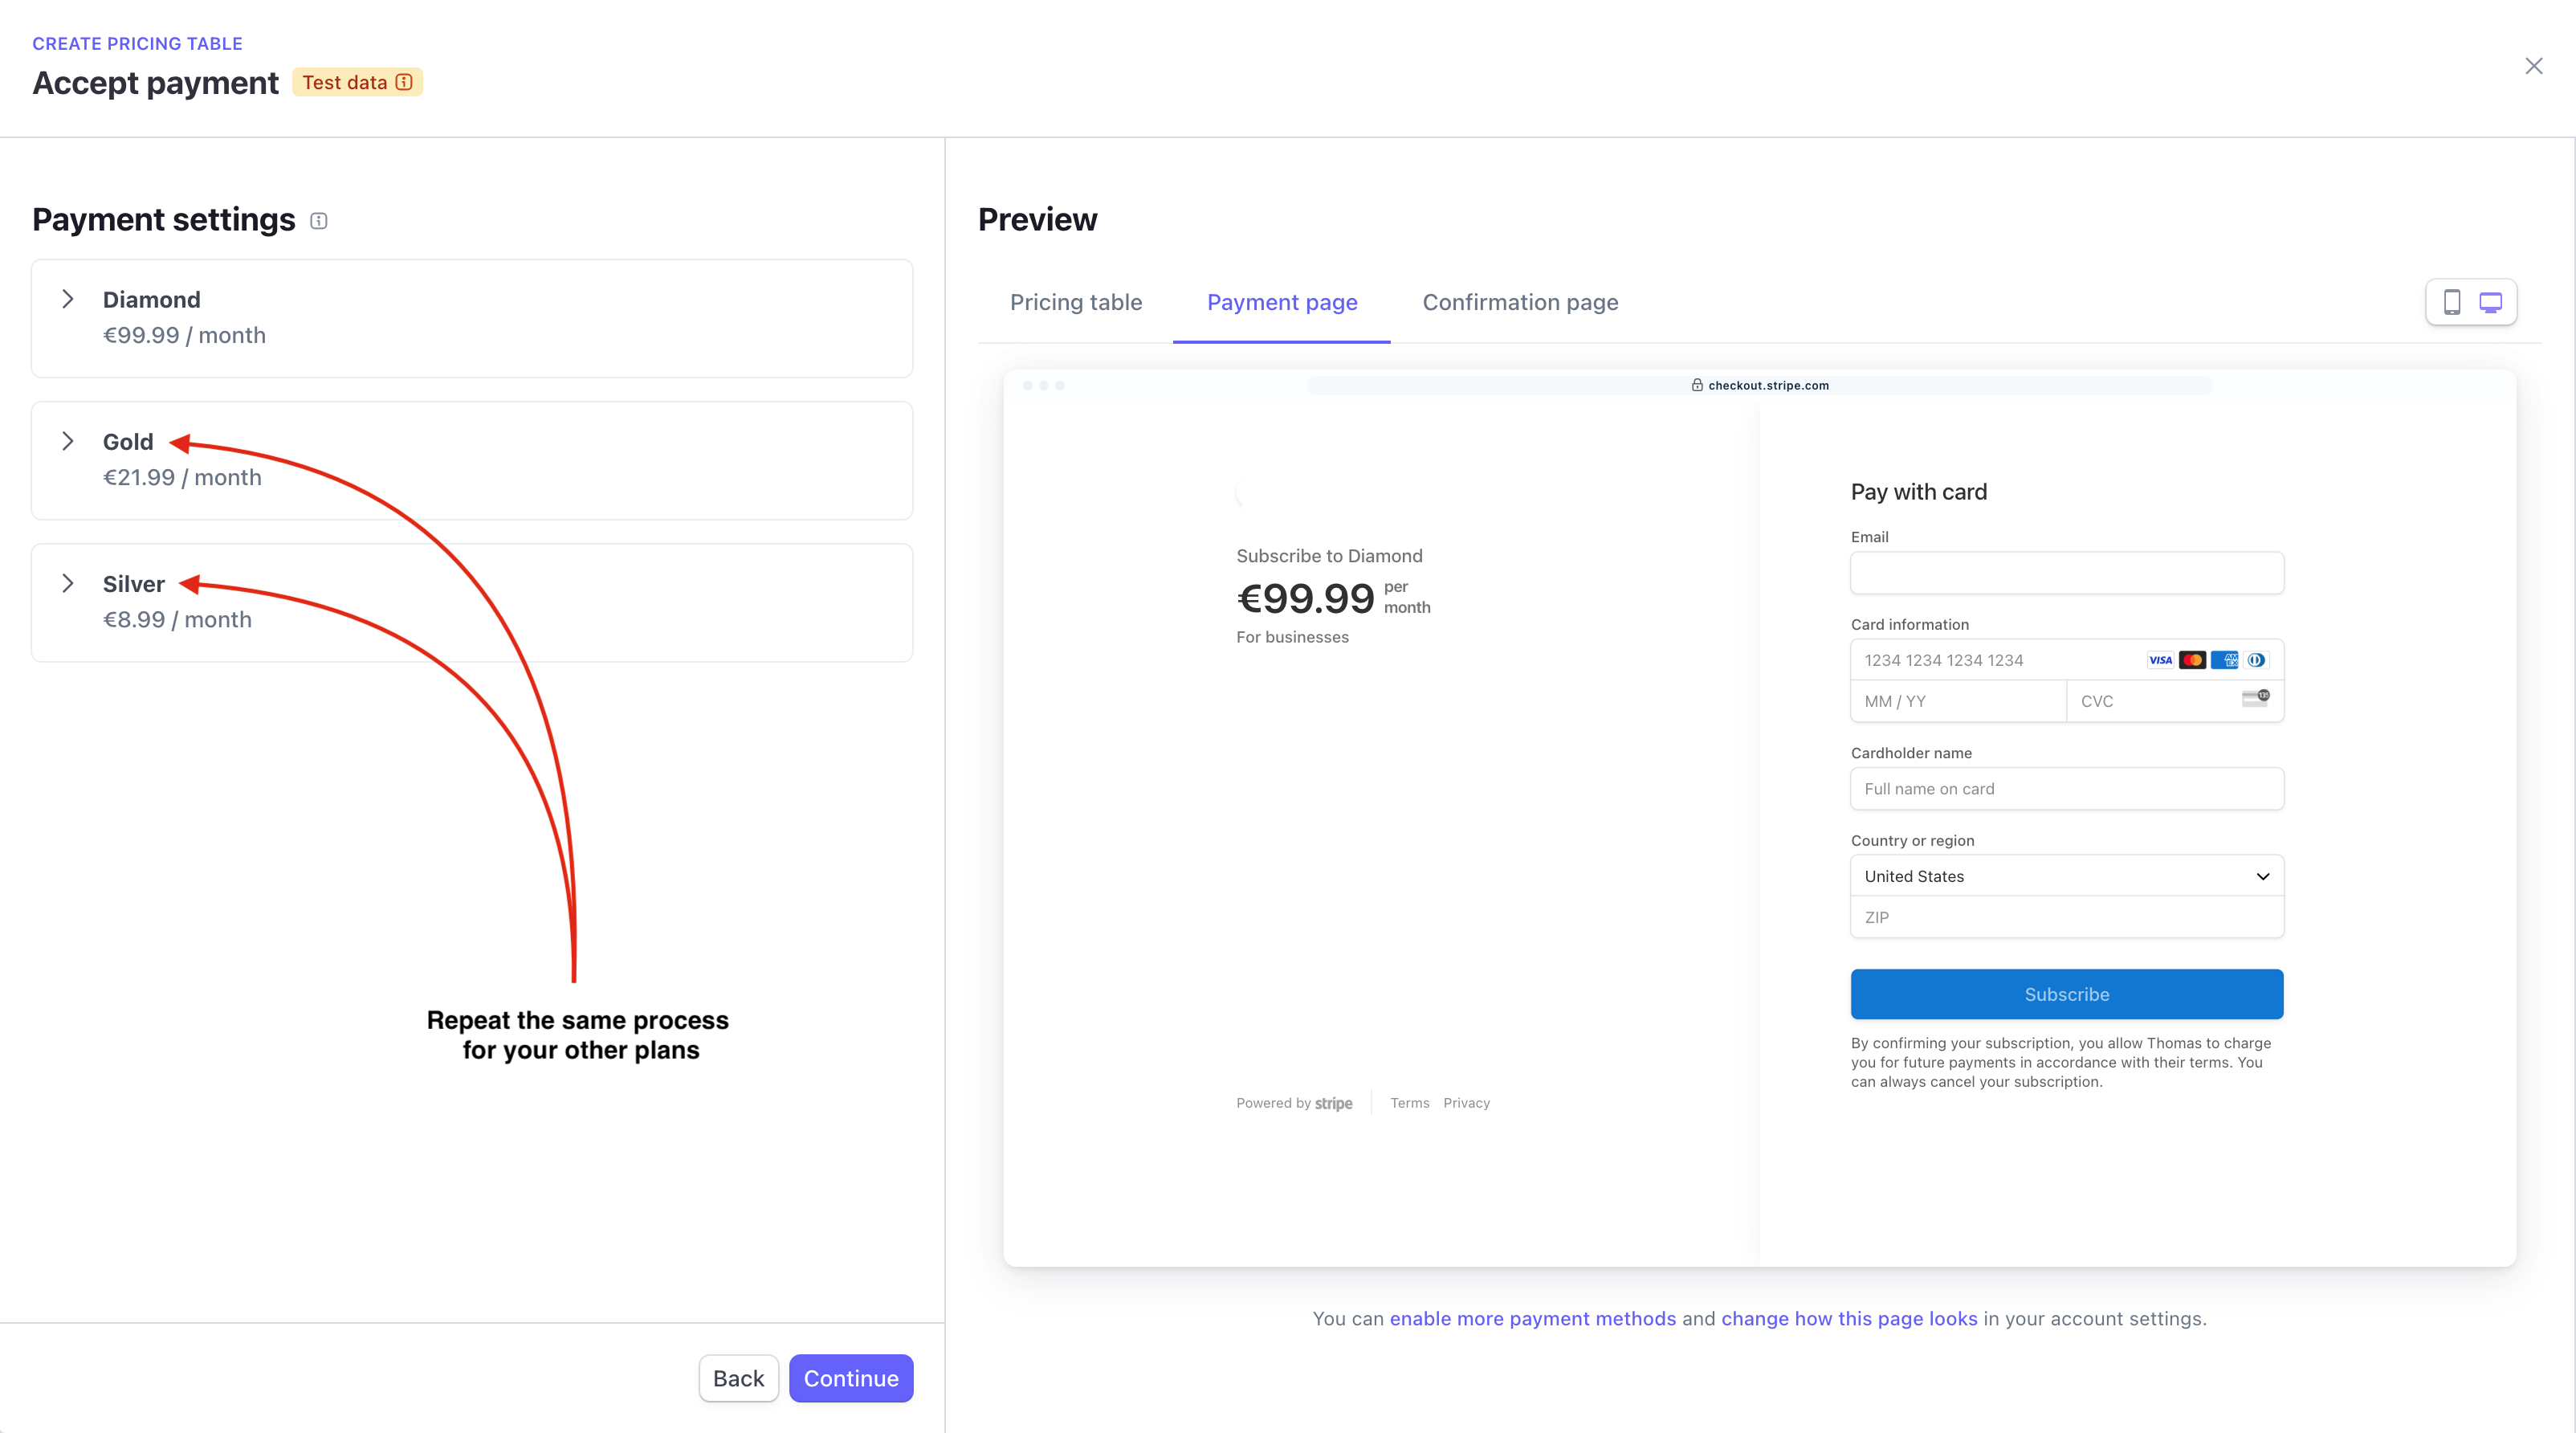
Do not forget to do it for each plan one by one.
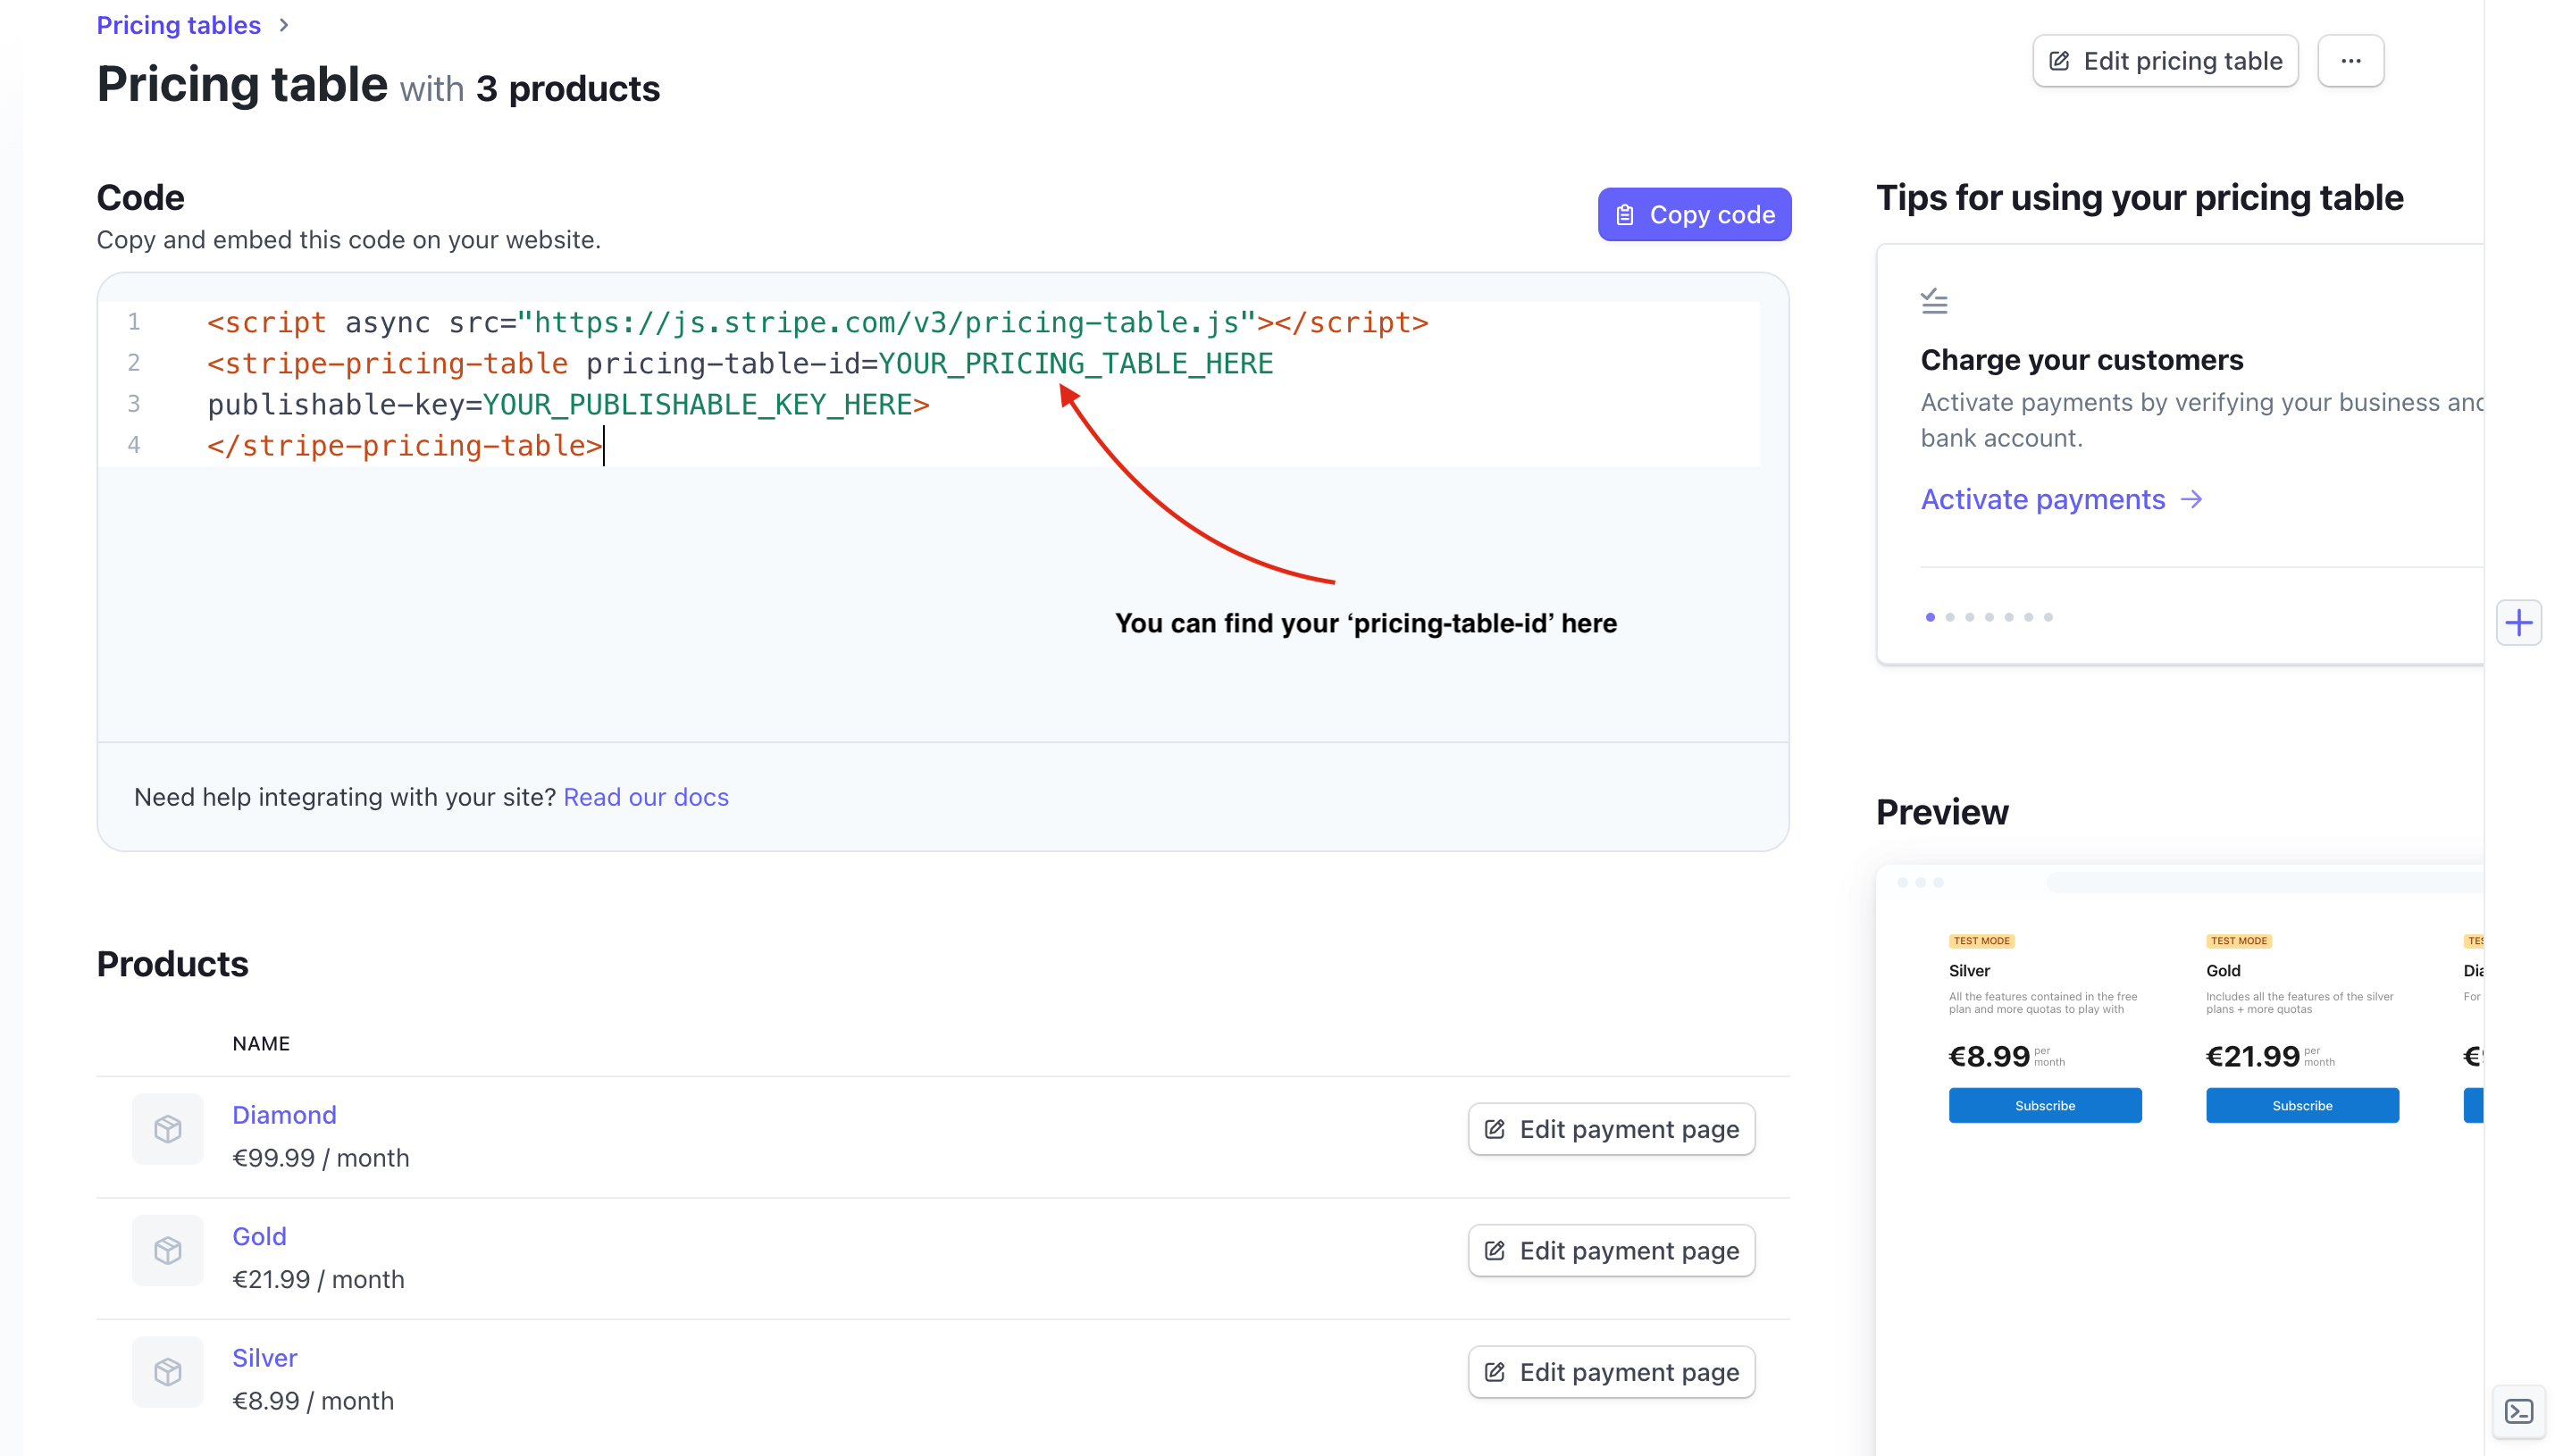
Then, click on Finish to finalize the creation of the pricing table.
Now, you can copy and save the pricing-table-id on the code section at the left of your stripe console.
After that, go to your stripe developer dashboard page and create an api key. Copy your public and private keys.
Congratulations ! You are ready to configure your developer portal !
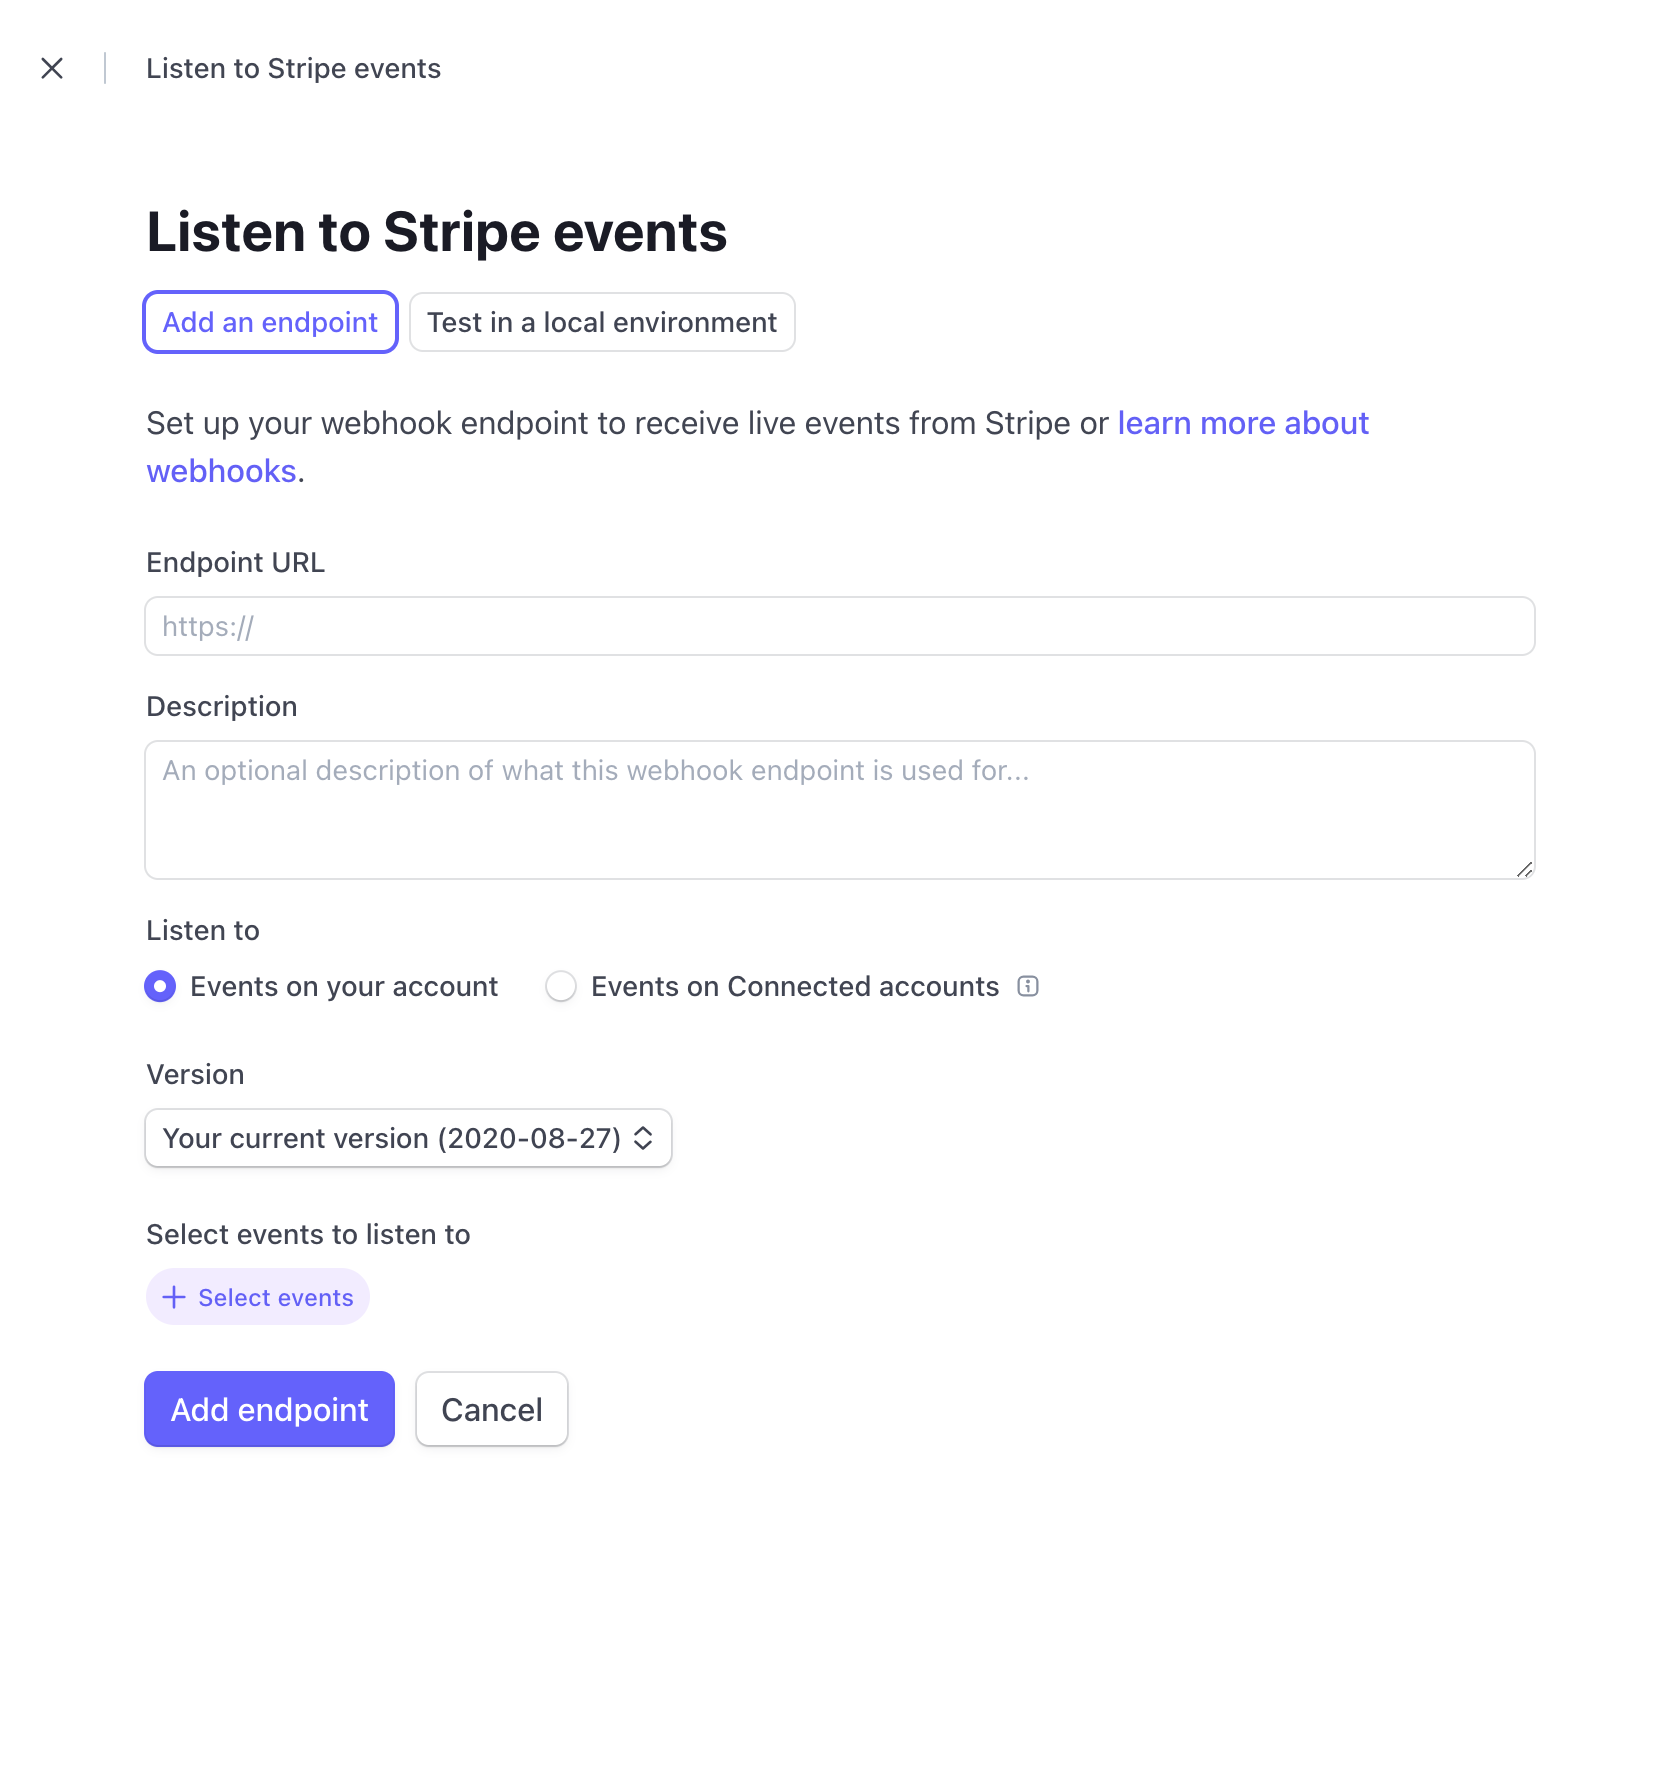
Stripe Webhook
Cloud Apim requires to receive the events from your stripe account in order to create api keys of your final users.
Go to your stripe dashboard and click on webhooks.
Then, click on add an endpoint button
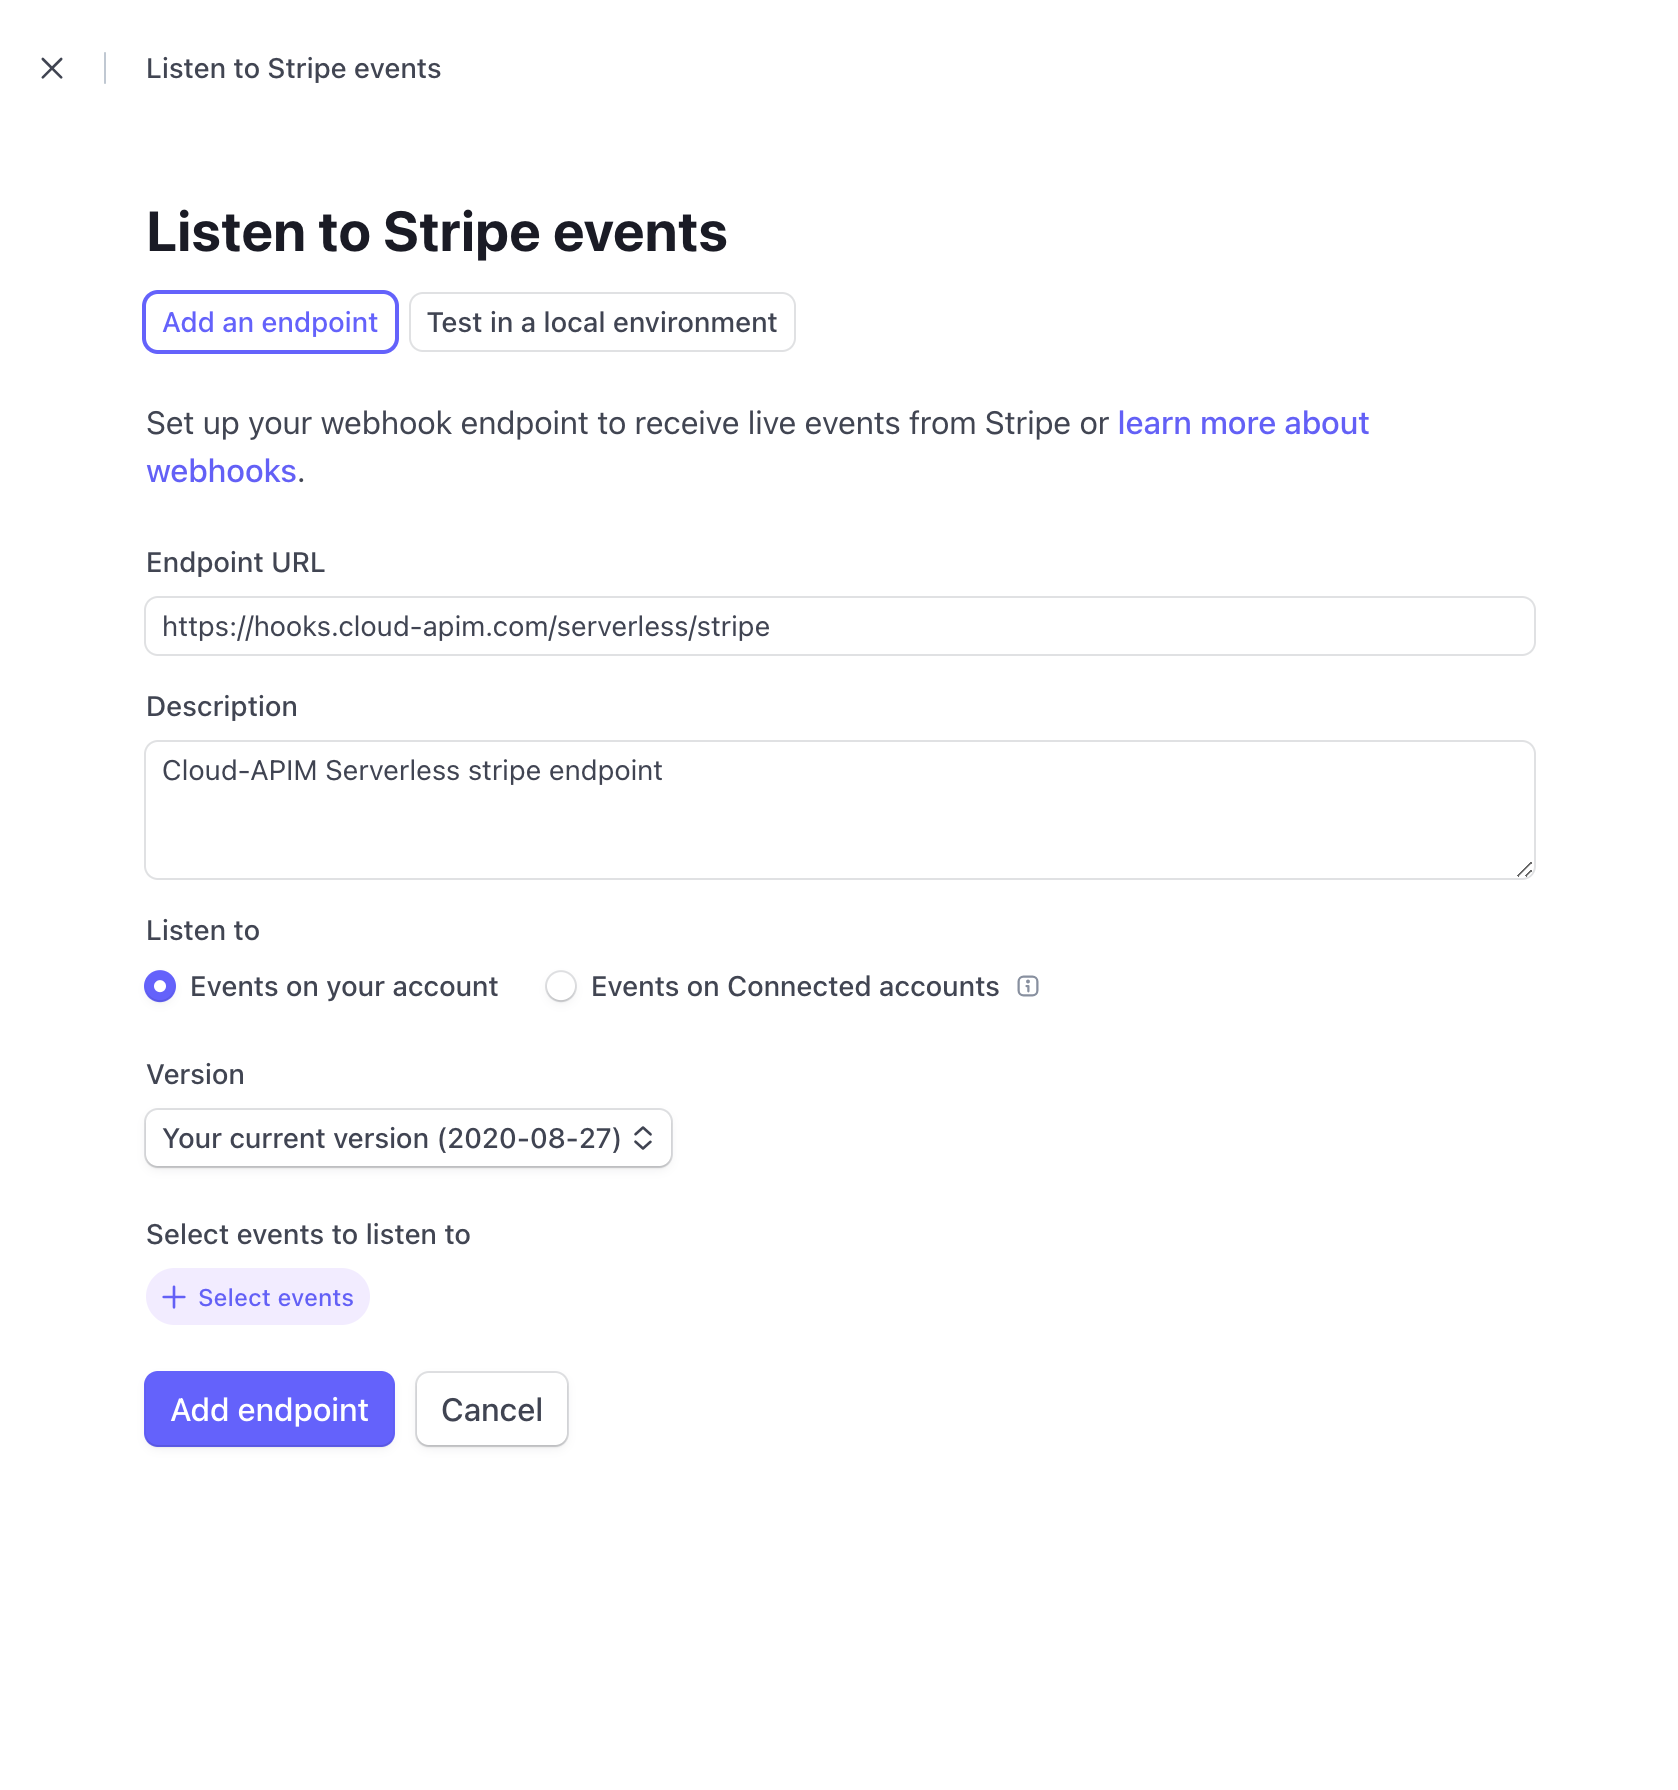
Put https://hooks.cloud-apim.com/serverless/stripe as endpoint url
You can also add a personal description
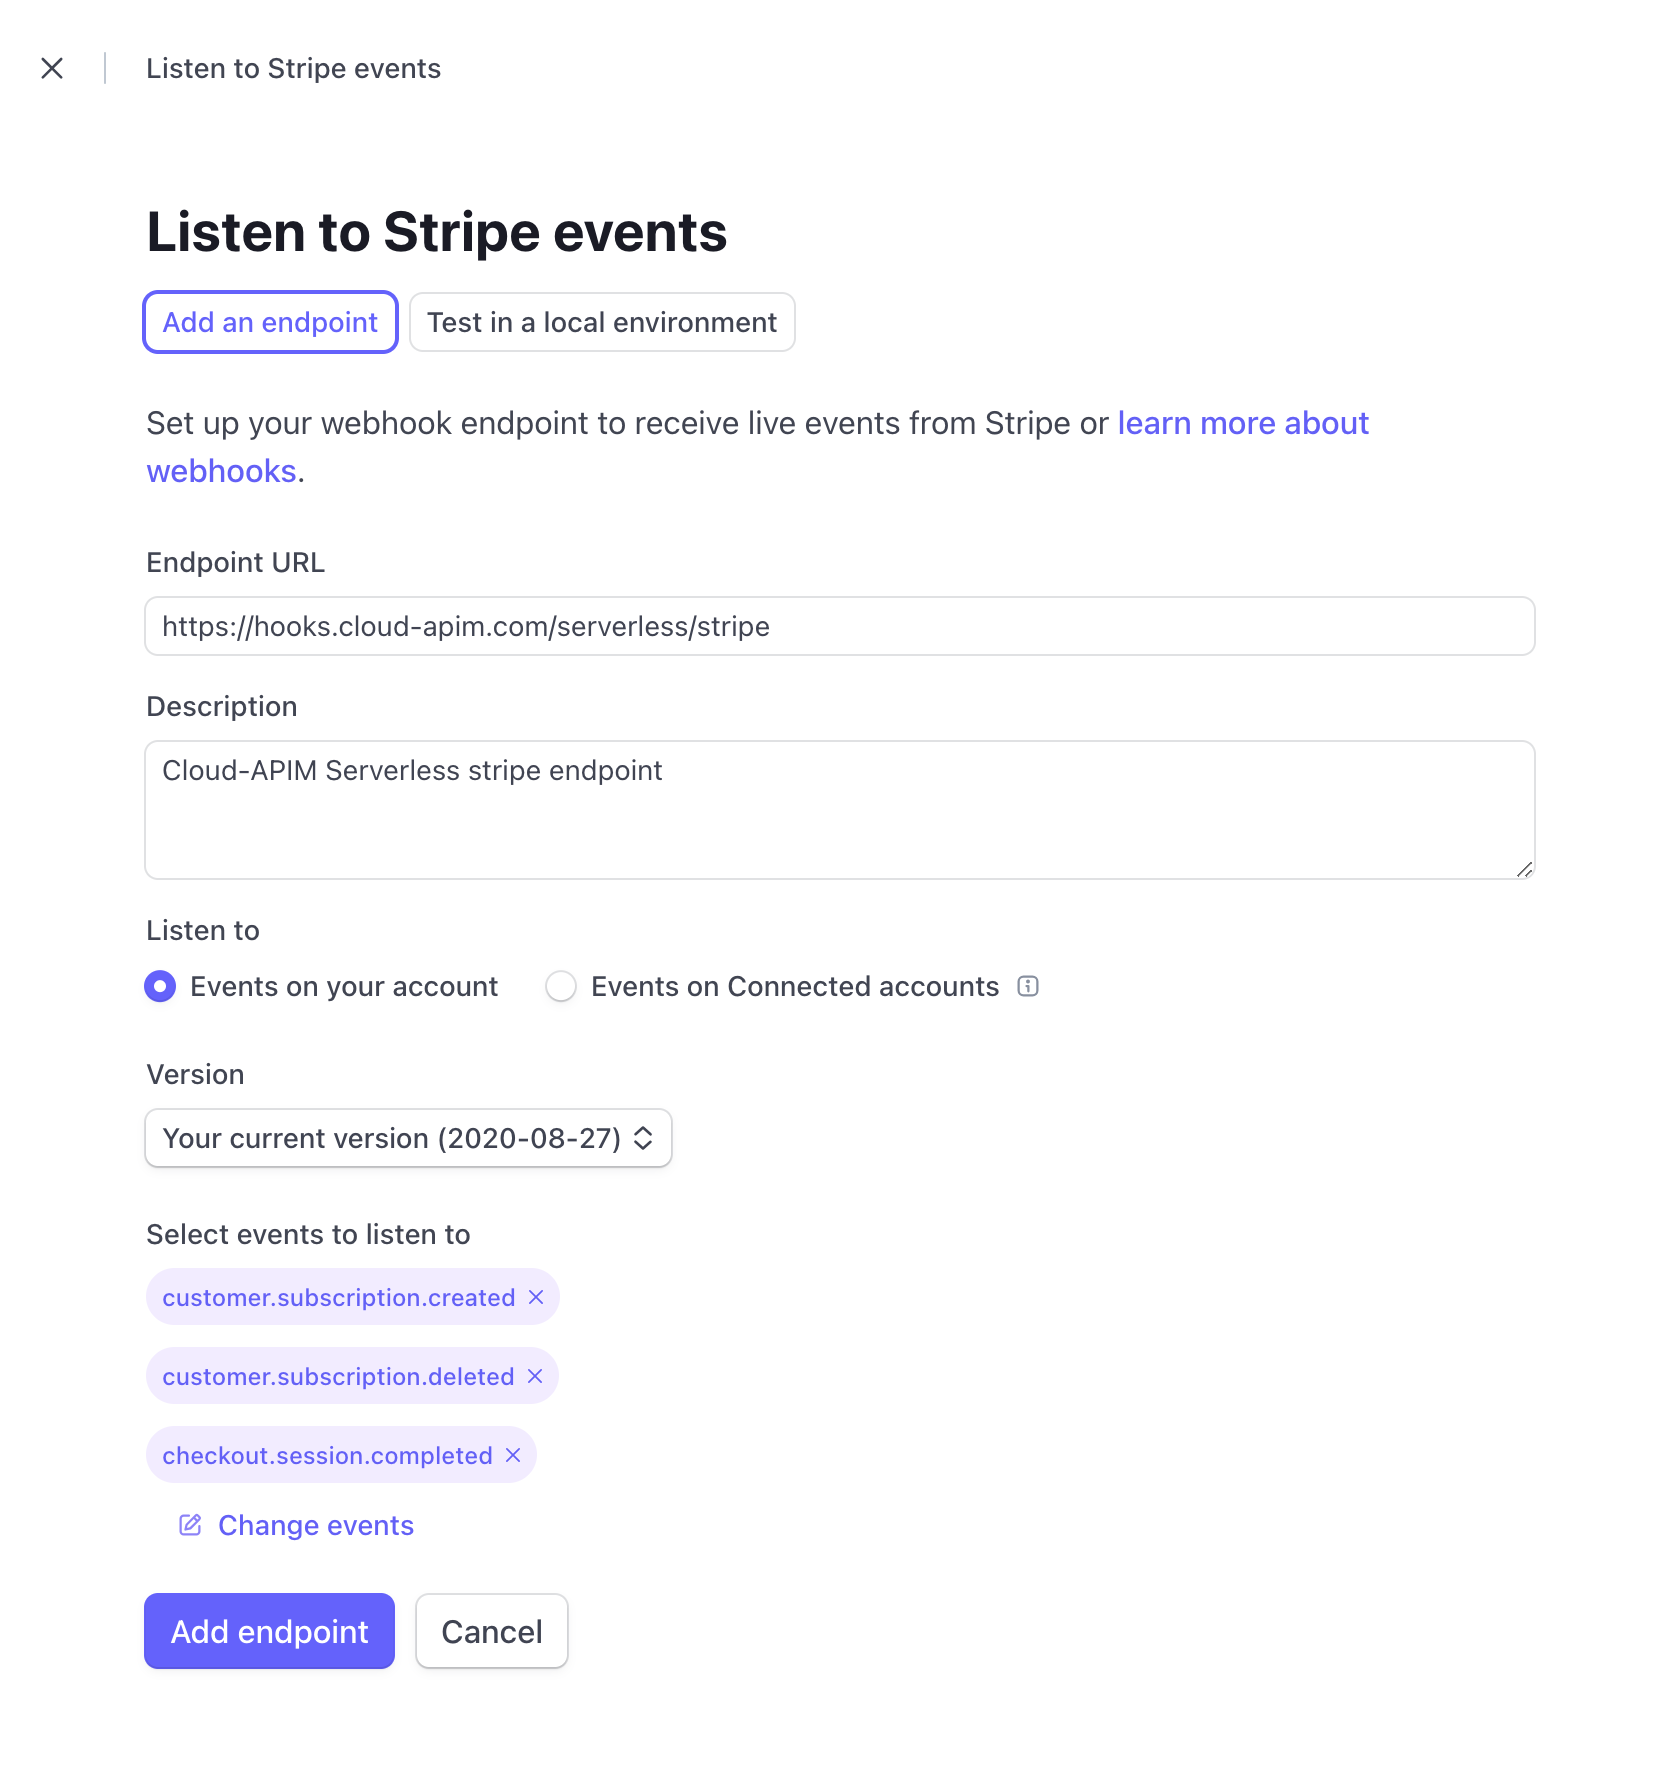
At the bottom of the form in the section Select events to listen to please select those events :
customer.subscription.deleted, customer.subscription.updated and checkout.session.completed
Now click on Add enpoint button and you have configured successfully your stripe account.
You are now ready to use stripe.
Configure your environment variables in the next Monetisation tutorial.