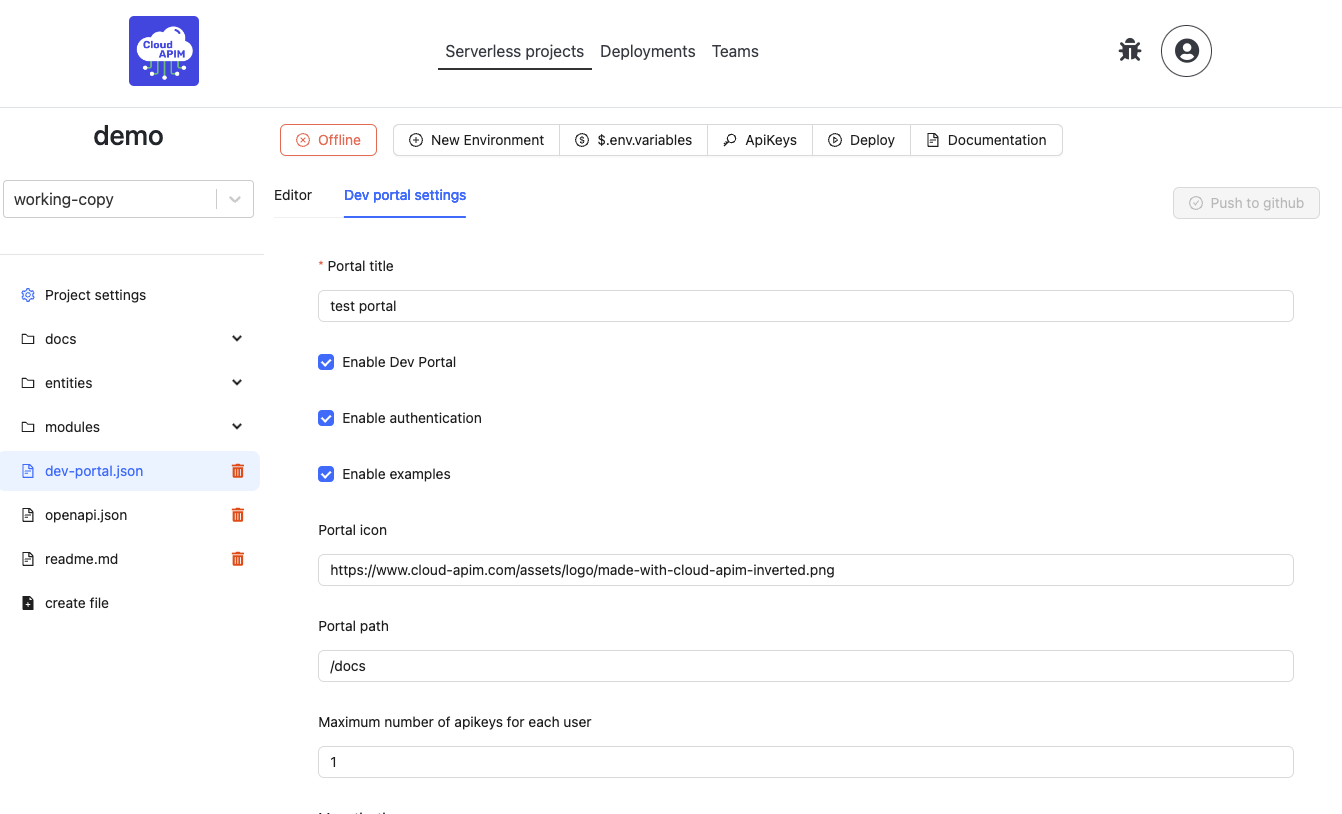
Developer portal configuration
In this tutorial, you will be able to configure your developer portal !
First, open your dev-portal.json file with your favourite editor and let's edit it as you like.

Here is the default configuration :
dev-portal.json
{
  "enabled": true,
  "auth": true,
  "title": "test portal",
  "examples": true,
  "path": "/docs",
  "icon": "https://www.cloud-apim.com/assets/logo/made-with-cloud-apim-inverted.png",
  "max_user_created_apikeys": 1,
  "plans": [
    {
      "id": "default",
      "name": "default",
      "default": true,
      "description": "The default apikey plan",
      "throttling": 100,
      "daily": "10000",
      "monthly": "10000"
    }
  ]
}
Developer Portal Configuration Documentation
This document describes the configuration settings for the developer portal of the API management service.
General Settings
-
enabled:
true- Description: Enables or disables the developer portal.
- Type: Boolean
- Default:
false - Example:
"enabled": true
-
auth:
true- Description: Requires authentication to access the developer portal.
- Type: Boolean
- Default:
false - Example:
"auth": true
-
title:
"test portal"- Description: The title displayed on the developer portal.
- Type: String
- Example:
"title": "test portal"
-
examples:
true- Description: Enables or disables usage examples within the developer portal.
- Type: Boolean
- Default:
false - Example:
"examples": true
-
path:
"/docs"- Description: The URL path where the developer portal is accessible.
- Type: String
- Example:
"path": "/docs"
-
icon:
"icon link here"- Description: The link to the icon used for the developer portal.
- Type: String
- Example:
"icon": "https://example.com/icon.png"
API Key Settings
- max_user_created_apikeys:
1- Description: The maximum number of API keys a user can create.
- Type: Integer
- Default:
1 - Example:
"max_user_created_apikeys": 1
Go further
If you want to monetise your API you can set up your portal using this tutorial